Our Practical Guide to Installing Bathroom Wall Panels.
Bathroom panels are designed to provide the perfect mix of design choice and long-term performance. Unlike tiles, there is no grout to maintain and no risk of cracked joints over time. This allows you to create a continuous and waterproof surface that is easy to clean and maintain. And without the need for grouting and excessive sealants/adhesives, it’s a mess-free alternative to tiling.
Bathroom wall panels are quickly becoming one of the most popular alternatives to tiles. They offer a level of speed and consistency without compromising on quality. Advances in designs now mean panels ranges are available with post-formed edges which help to create a new level of seamless design (while reducing the effort to install).
This makes bathroom panels ideal if you’re looking to add to your installation skillset or are after a surface solution that doesn’t require tiling.
This guide explains some of the essentials on how to fit bathroom wall panels, with a focus on our Elite Range which features the post-formed, tongue-and-groove panels.
Why Choose Bathroom Panels Instead of Tiles?
Bathroom panels are designed to provide the perfect mix of design choice and long-term performance. Unlike tiles, there is no grout to maintain and no risk of cracked joints over time. This allows you to create a continuous and waterproof surface that is easy to clean and maintain. And without the need for grouting and excessive sealants/adhesives, it’s a mess-free alternative to tiling.
Before you start... how to plan a bathroom panel installation
Preparation is essential for any installation. One of the advantages of modern systems, such as tongue and groove panelling sheets, is that planning is simpler than traditional tiled walls.
Trimless bathroom wall cladding systems, like our Elite range, use post‑formed edges and interlocking joints rather than surface profiles. This means you only need to plan how many finished edges are required, rather than working around trims, spacers, and grout lines.
Tools needed to fit bathroom wall panels
Most bathroom wall panels can be installed using your standard working tools:
- Circular saw with a fine‑cut blade for clean, straight cuts
- Jigsaw for scribing and shaping around obstacles
- Drill and hole saw for pipe cut‑outs
- Straight edge, spacers, sealant gun and cleaning wipes (don’t forget a pack of alcohol-based wipes, you’ll need these to clean away excess sealant)
Top Tip: Make sure to use Wilsonart adhesive and sealant. This ensures your installation is covered by our lifetime guarantee.
Step-by-step: How to Fit Shower Wall Panels
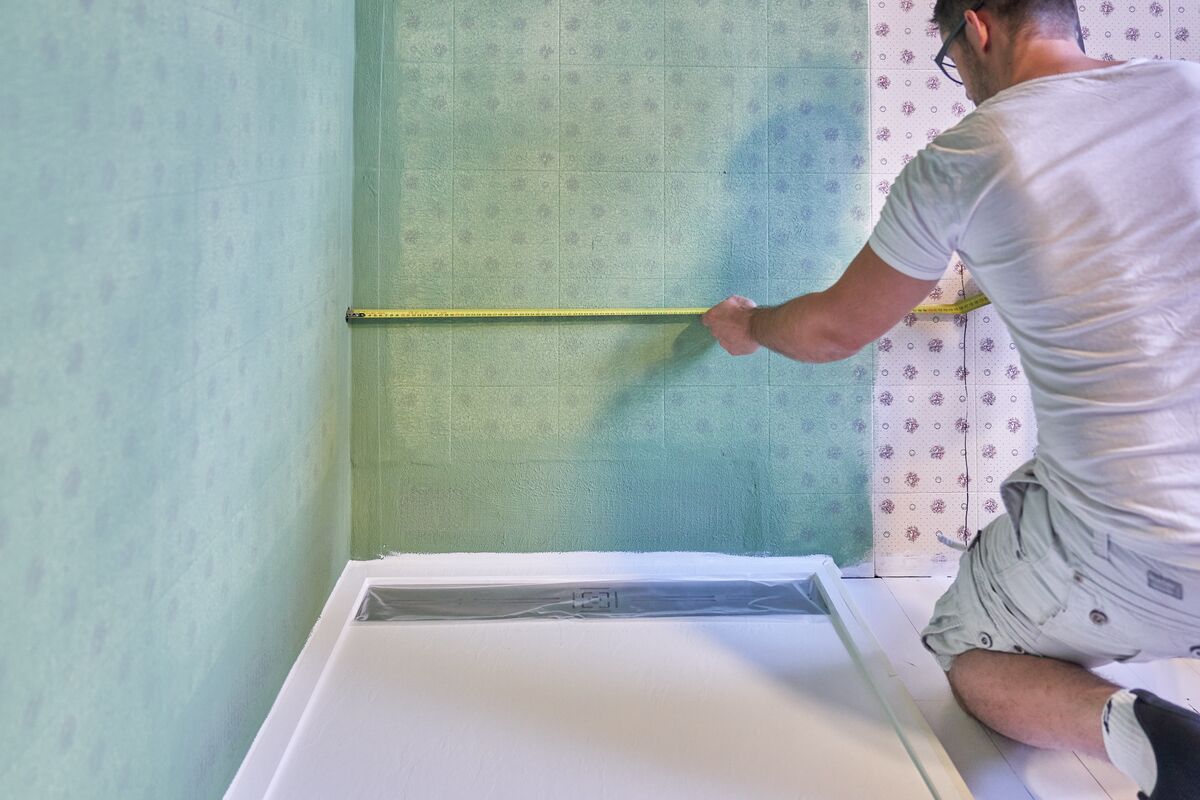
1. Measure Accurately
Measure and mark the full height of the installation area for the first panel. Subtract 3mm from the top edge to allow expansion between the panel and ceiling, and a further 5mm at the bottom where the panel meets the shower tray or bath.
Where panels return into a corner, subtract 3mm from the edge that will sit against the wall. Carefully measure and mark all plumbing cut‑outs at this stage.
2. Prepare Post-formed edges and joints
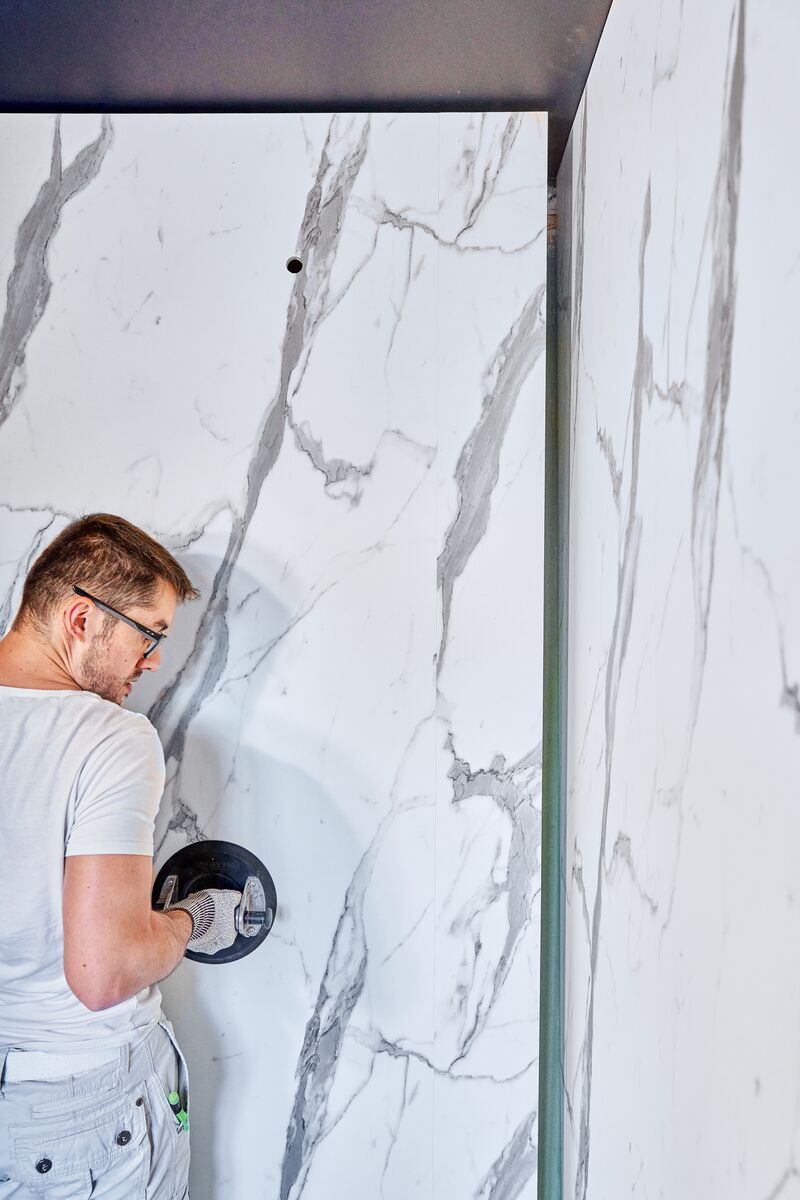
There is no universal method for installing bathroom wall panels, as systems vary by manufacturer. With tongue and groove bathroom wall panels such as Wetwall™ Elite, panels must always be installed vertically, starting in a corner and working outwards.
For the first panel, remove the tongue on the corner edge so that a groove faces the wall. Carry out a full dry fit before fixing. Once confirmed, apply a 2mm bead of Wilsonart Complete sealant to the back edge of the groove and into the back‑edge tongue before joining panels.
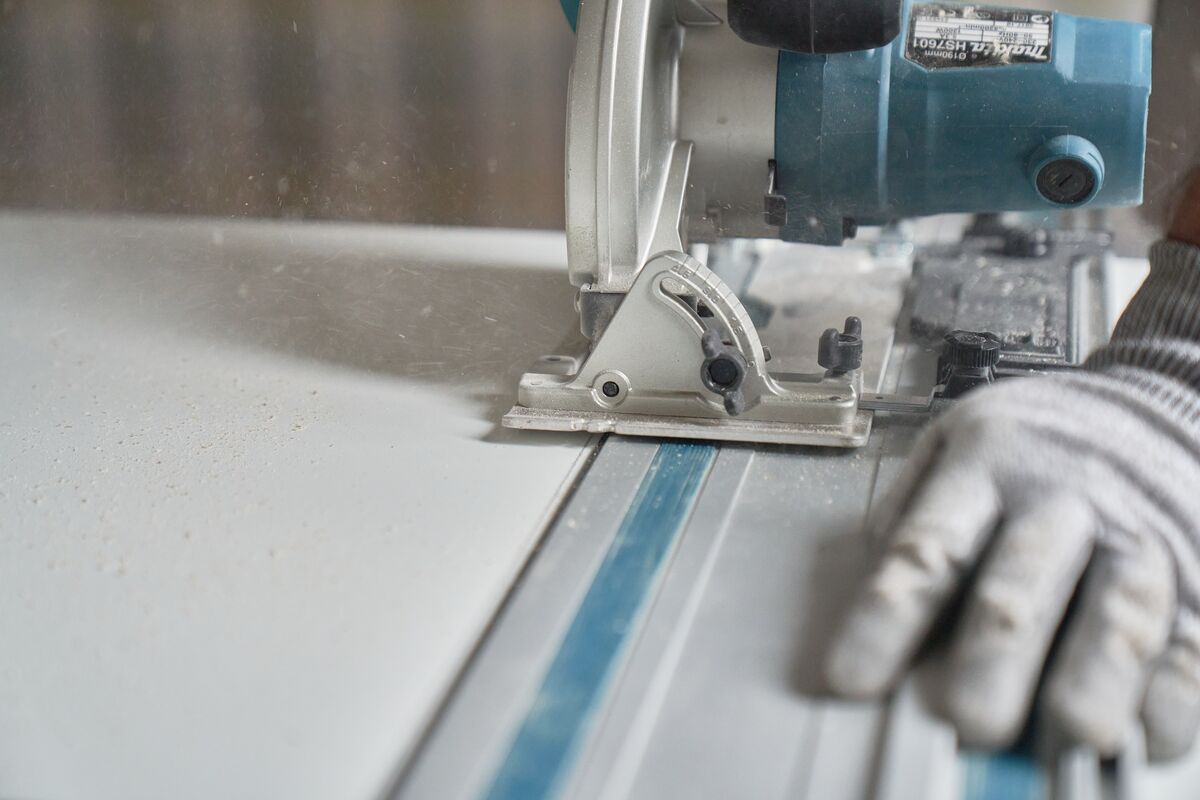
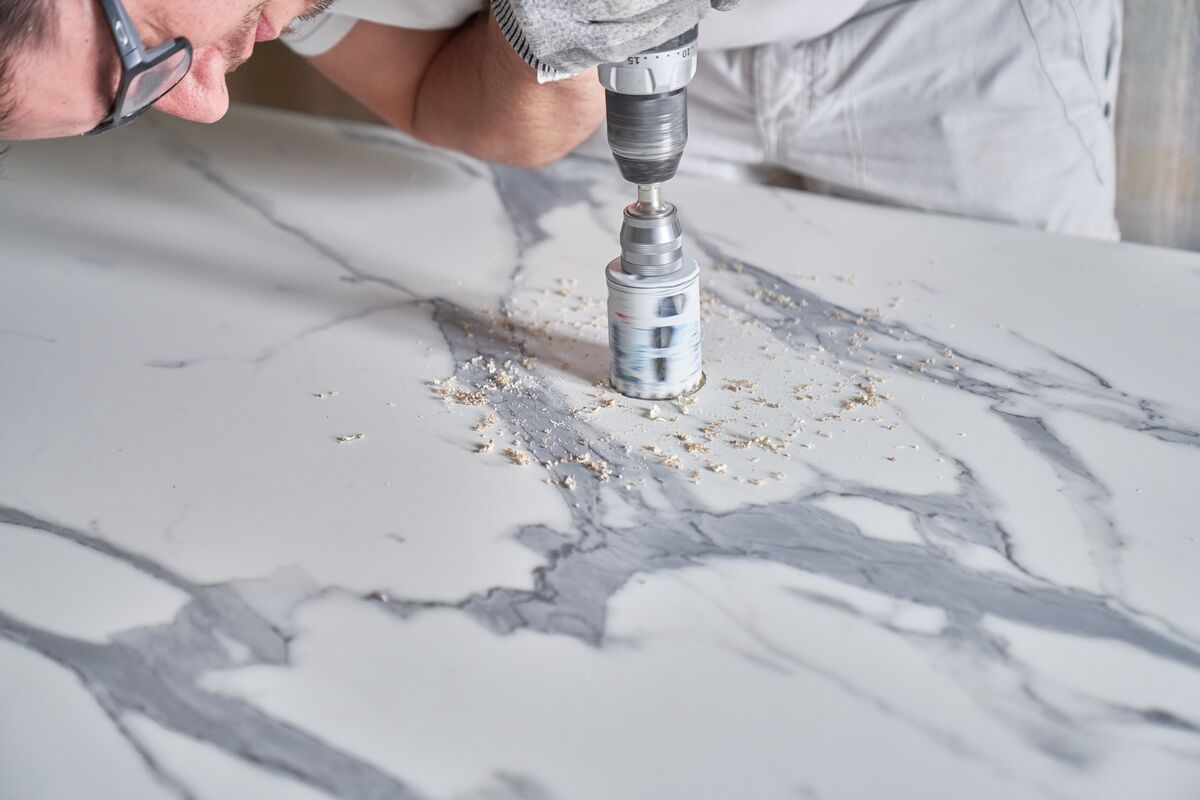
3. Cut and Drill Panels
Panels must be fully supported at all times during cutting and drilling. Lay panels flat on a suitable surface and ensure they never overhang the cutting bed.
Always cut into the post‑formed edge rather than out of it. Use a 160 × 20mm fine‑cut blade with a minimum of 48 teeth to achieve a clean finish. Jigsaws should only be used for scribing and shaping. Pipe cut‑outs should be made using a hole saw.

4. Dry Fit and Space
Position the panel carefully to confirm fit and alignment. Insert 3mm spacers at vertical corner joints and 5mm spacers at horizontal joints. Check the panel is plumb and correctly aligned before removing it and cleaning away any dust or debris.
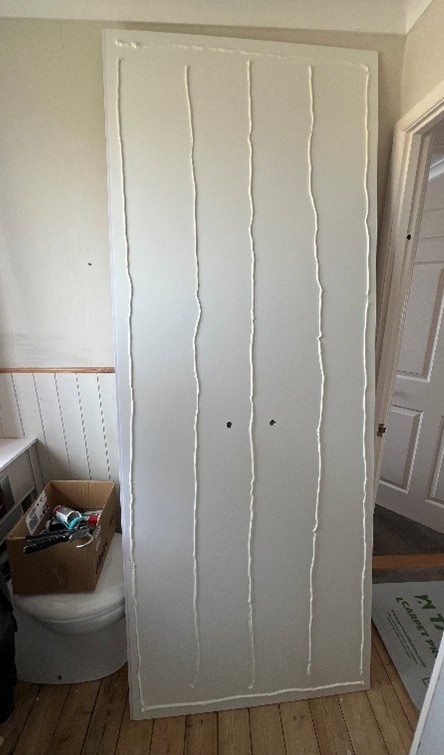
5. Apply Adhesive and Sealant
Apply Wilsonart Complete adhesive to the back of the panel in horizontal and vertical lines across the board. Beads should be greater than 6mm thick and set approximately 40mm in from the panel edge.
As noted above, apply a 2mm bead of Wilsonart Complete sealant to both the groove and tongue of the previously fitted panel. Remove excess adhesive or sealant as you work using sealant‑removal tools and alcohol‑based wipes.
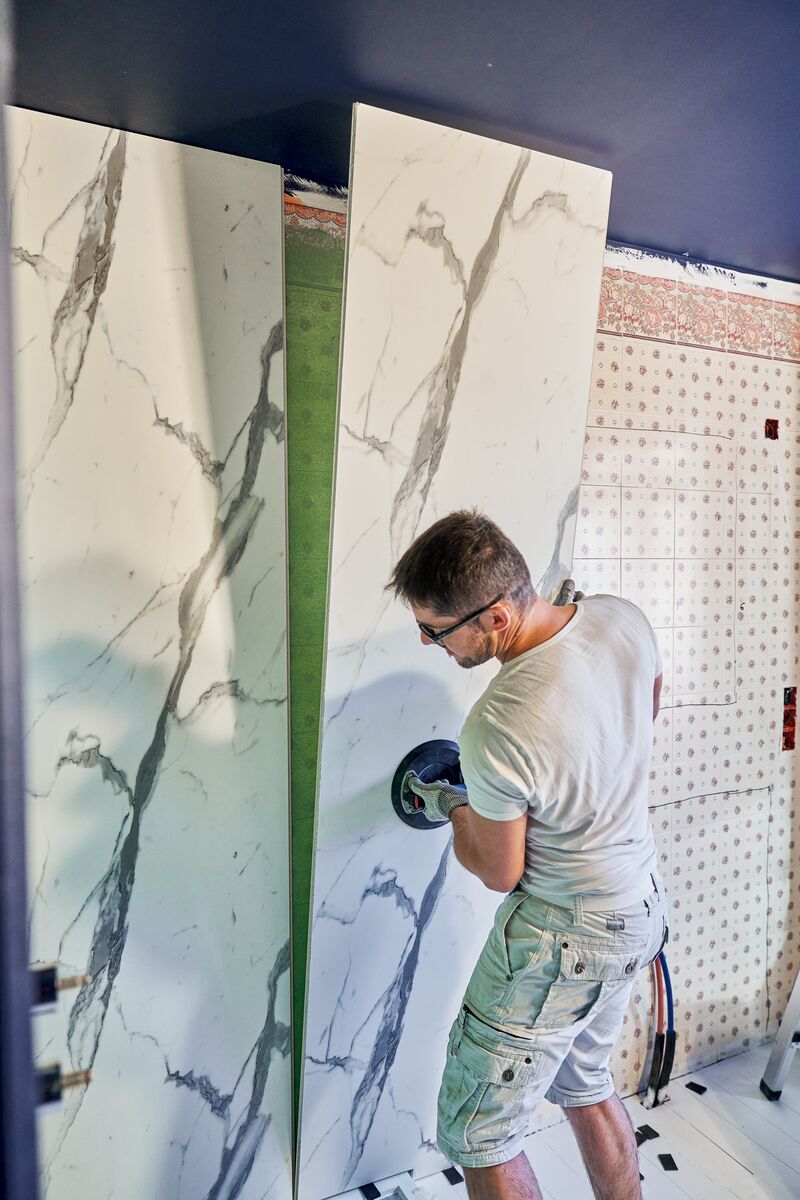
6. Fit the Panel
Engage the tongue and groove joint and press the panel firmly into position until sealant is visible at the joint. Remove excess sealant immediately to maintain a clean finish.
Brace the panel using a straight edge to ensure full, even contact with the wall. You will typically have around 10 minutes open time to make final adjustments.
7. Repeat across the Wall
For each remaining panel, repeat the process: measure, cut, dry fit, apply adhesive and sealant, then fix into position. Working methodically ensures consistent alignment and a professional finish.
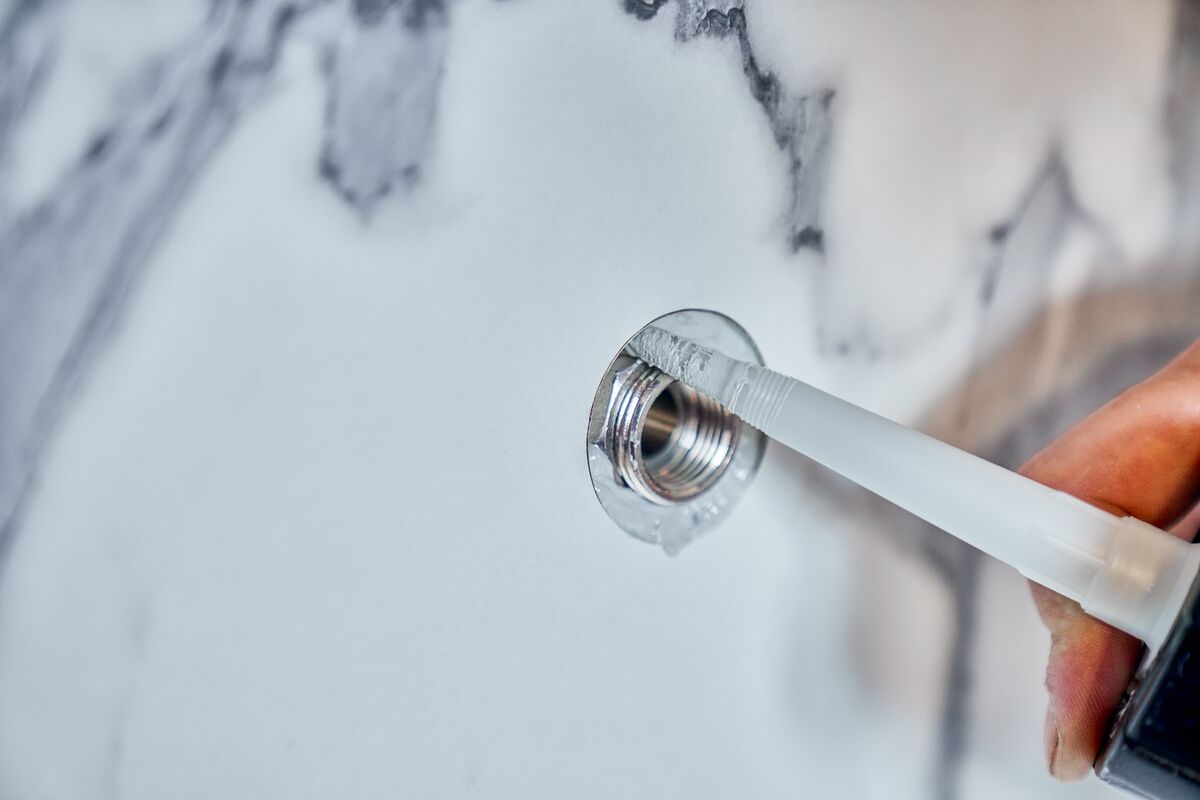
8. Seal all Joints
Allow the adhesive to cure for 24 hours, then remove all spacers. Backfill all expansion gaps with Wilsonart Complete sealant, sealing around pipework, fixtures, tray edges, and all vertical and horizontal joints.
Clean away excess sealant immediately and allow 12 hours at room temperature before installing fittings or using the shower.
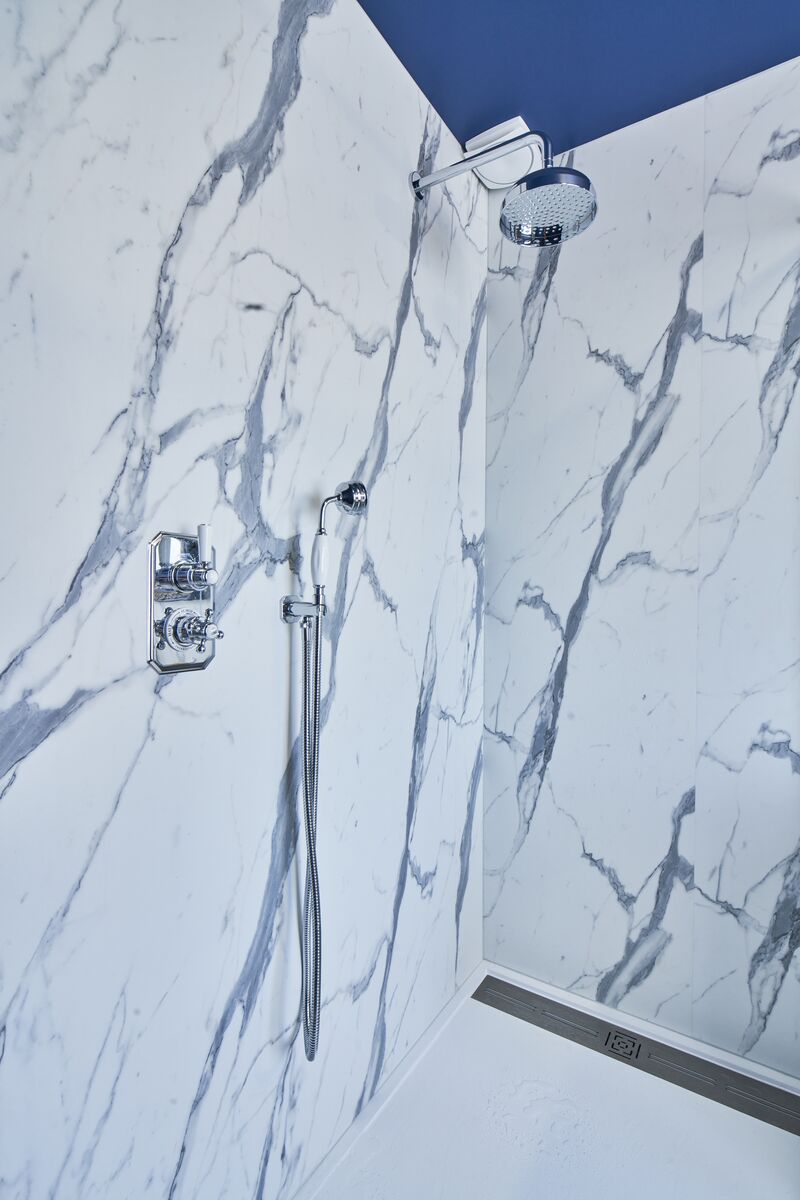
9. Final Checks
Once complete, inspect all joints and seals before handing over. Correctly installed shower wall panels should provide a fully watertight, seamless and long-lasting finish.
Installing Bathroom Wall Panels With Confidence
When installed correctly, bathroom wall panels provide a durable, low‑maintenance and professional finish. They offer a reliable and effective alternative that reduces installation time.
Whether you are fitting shower wall panels in a new build or upgrading a bathroom using panels instead of tiles, following a clear installation process is key to long‑term performance.
You can find more of our product-specific installation guides here or if you’d like to find your local retailer then click here.


Validate your login
Sign In
Create New Account